
Last updated October 30, 2026
 Wrought iron
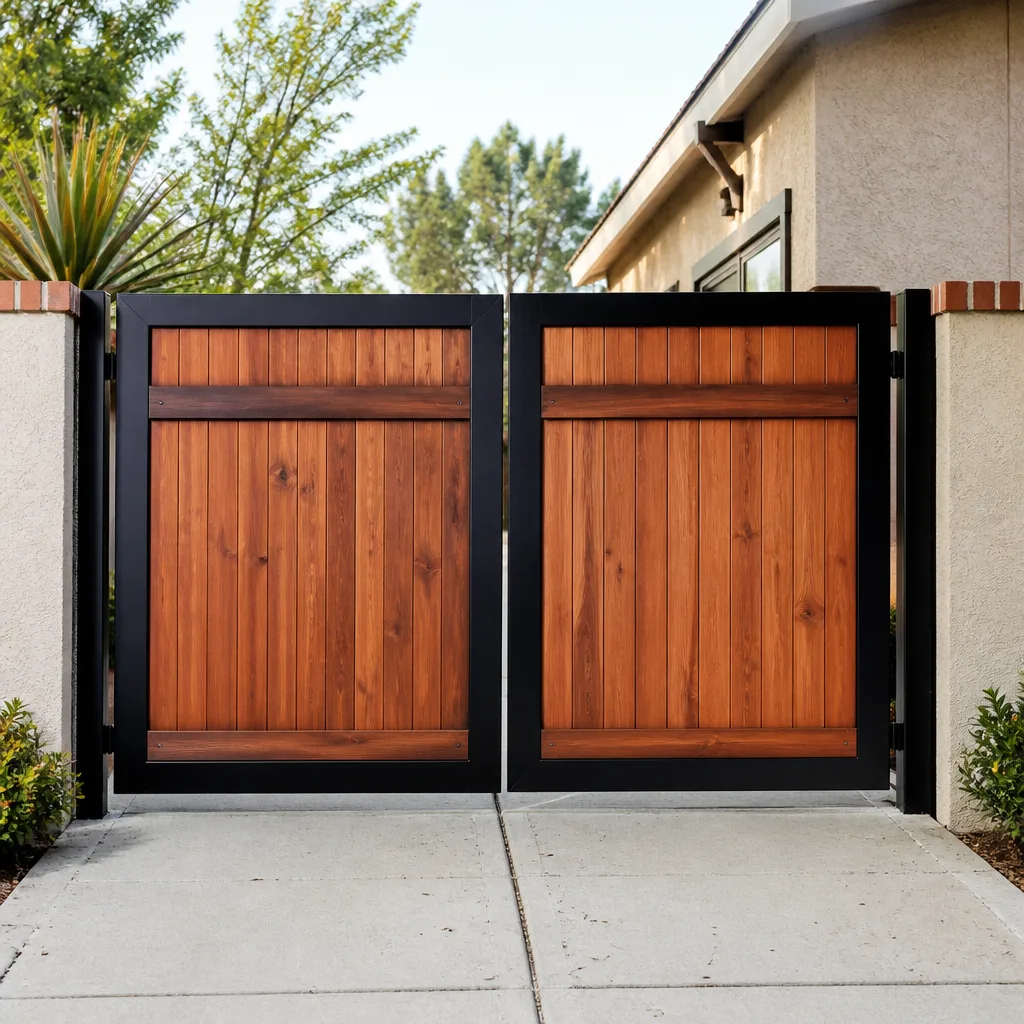 Wood & steel frame
 Farm & ranch
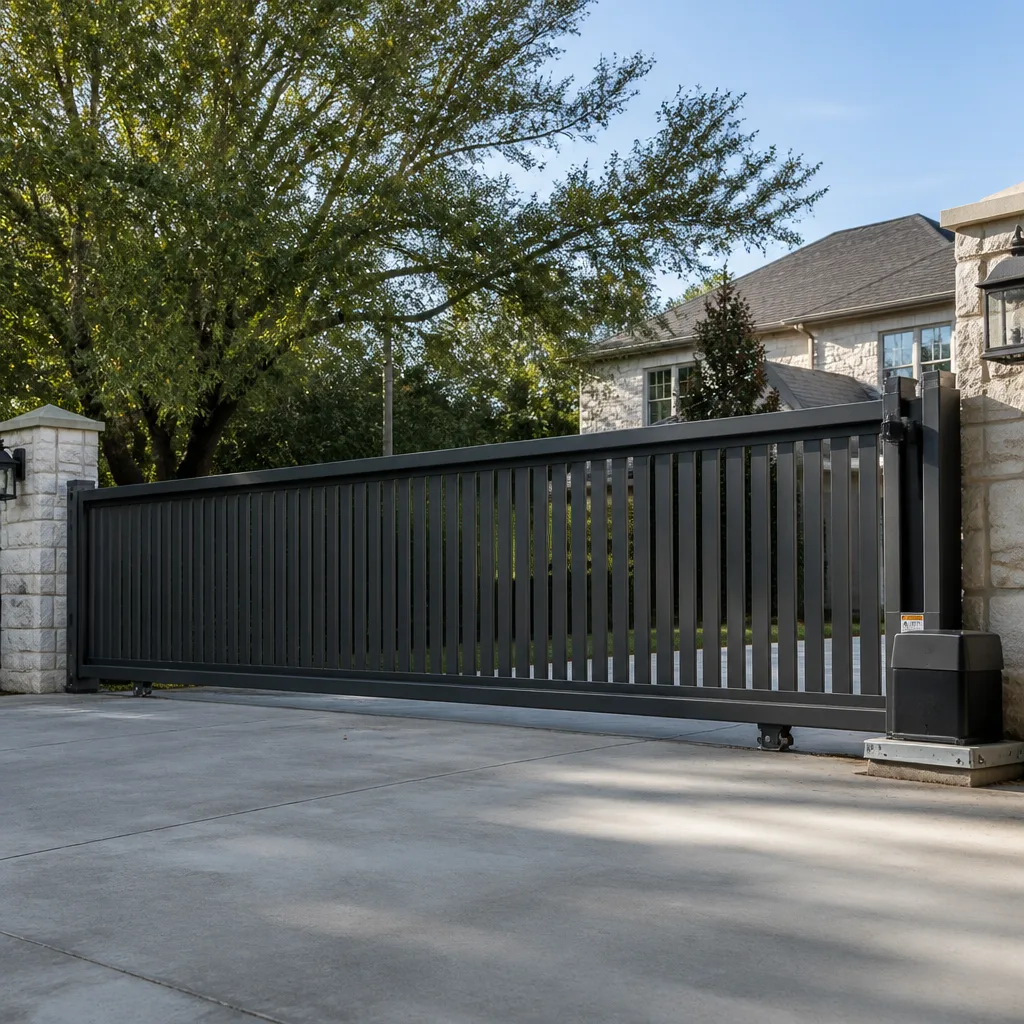 Sliding driveway gates
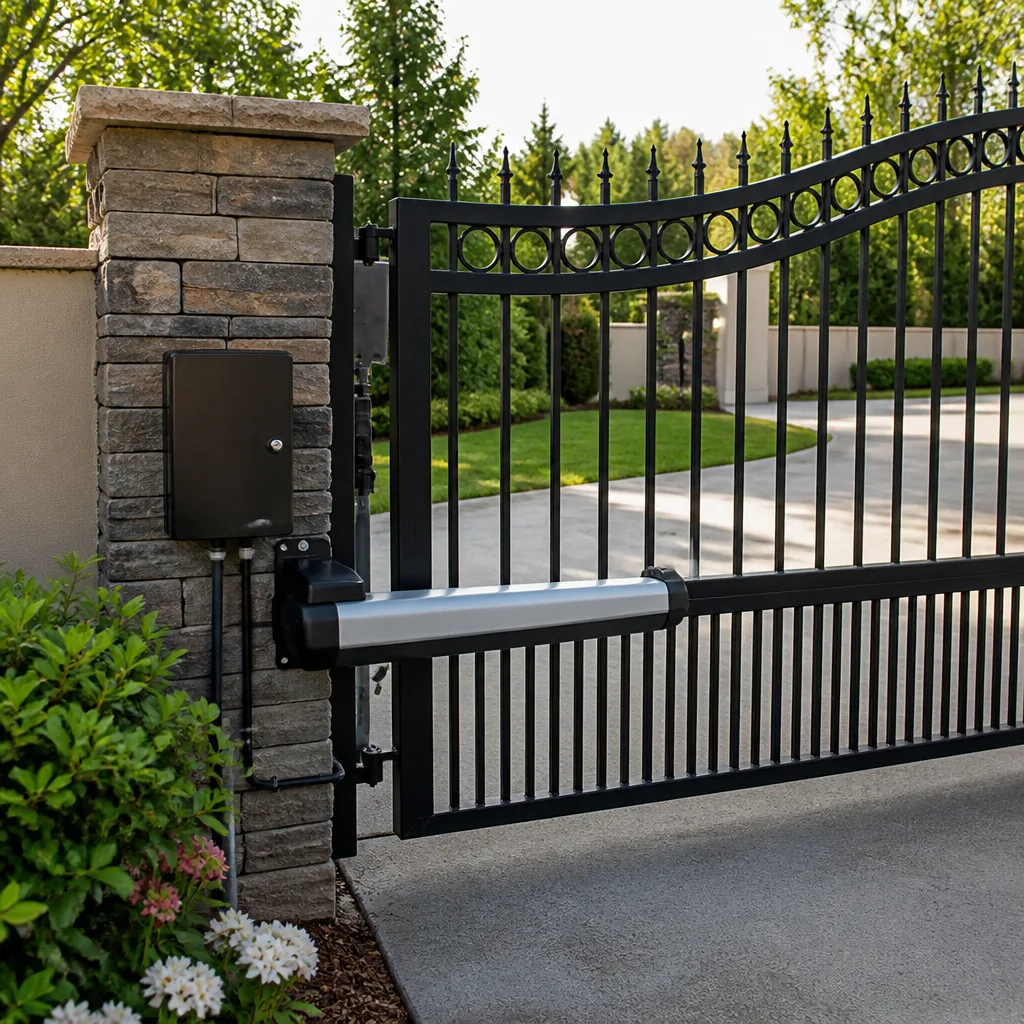 LiftMaster operators
Free on-site gate assessment - hinges, posts, and your LiftMaster or Nice gate operator checked before anything is quoted
The assessment is free and the quote is the invoice.
Get your free estimateDIY vs Professional Gate Repair: The DeSoto Homeowner’s Decision Guide
Here’s a number that should make every DeSoto homeowner pause: roughly 70% of the professional gate repair calls we take involve a system where someone already attempted a DIY fix, and about 4 in 10 of those attempts made the original problem worse. The gate that would have needed a $40 limit switch adjustment now needs a $400 control board replacement because the homeowner adjusted the wrong potentiometer. Our Gate Repair services handle these situations regularly. This guide isn’t going to tell you to never touch your gate. That would be dishonest. Some tasks are genuinely safe, simple, and worth doing yourself. Others carry hidden costs that don’t show up until the gate fails again three weeks later, or until your HOA flags a UL 325 compliance issue, or until a manufacturer voids your warranty over an unauthorized modification. We’ll draw the line between the two, task by task, with specific reasoning grounded in what’s actually in your gate system and what Texas code actually says. If you live in DeSoto and own an automatic gate, this is the guide that tells you what’s safe to touch and what isn’t.
Quick Answer
Most DeSoto homeowners can safely handle routine gate maintenance like cleaning photo-eye sensors, re-greasing chains, replacing remote batteries, and clearing track debris without any risk or training. But any repair involving the operator housing, circuit boards, limit switches, high-tension springs, or electrical wiring should be left to a professional, because those components carry a real risk of injury, system damage, or creating a UL 325 safety violation that becomes a liability issue. The right question isn’t “am I handy enough?” – it’s “does this task carry consequences I can’t afford if I get it wrong?”
Styles & brands we work with
Table of Contents
- The Task-by-Task DIY Safety Matrix
- Manufacturer Warranties and DIY Work: What Voids What
- Texas Law and Homeowner Electrical Work on Gates
- The True Cost of DIY vs Professional Gate Repair
- DIY Maintenance That Extends the Life of a Professional Repair
- Common Mistakes to Avoid
- When to Call a Professional
- Frequently Asked Questions
The Task-by-Task DIY Safety Matrix
Most gate repair advice online takes one of two positions: “never touch it” or “here’s a YouTube video, go for it.” Both are wrong in different ways. For more guides & resources that strike the right balance, see our blog. The honest answer is that gate systems break down into roughly three tiers of DIY accessibility, and knowing which tier a task falls into is 90% of the decision. Here’s the matrix we use when a DeSoto homeowner asks us what they should have tried themselves.
Green Tier: Safe to DIY with Basic Tools
These tasks require no specialized knowledge, no electrical exposure, and no risk of damaging the gate system if you do them reasonably carefully. They also happen to be the tasks that prevent a surprising number of service calls.
- Cleaning photo-eye sensors. DeSoto’s dirt, pollen, and occasional dust storms coat the photoelectric sensors on either side of your gate track. When they can’t see each other, the gate reverses or refuses to close. A damp cloth and 60 seconds fixes most of these calls. If the sensor lens is cracked or the housing is damaged, that’s a different story – but cleaning is always safe.
- Re-greasing the chain or screw drive. A gate chain that squeaks or binds is usually just dry. White lithium grease, applied lightly along the chain, is a 10-minute maintenance task. Don’t over-grease; the excess collects DeSoto dust and creates a grinding paste.
- Replacing remote or keypad batteries. If your Mighty Mule or Ghost Controls remote works intermittently from close range but not from your car at the street, the battery is dying. Swapping it out takes minutes and costs a few dollars.
- Clearing track debris. Leaves, gravel, and the occasional plastic bag can obstruct a sliding gate track. Removing visible obstructions is safe. Do not bend, shim, or “adjust” the track itself.
- Checking for visible damage. Walking your gate line once a month and looking for rust, loose bolts, sagging, or bent rollers is entirely within a homeowner’s capability. What you do about what you find – that’s where the tier system kicks in.
Yellow Tier: DIY-Able But Requires Specific Knowledge
These tasks won’t shock you or crush you if you’re reasonably careful, but they can absolutely make the problem worse – or create a new one – if you don’t know what you’re looking at. We see the yellow tier cause most of the “I fixed it and now it’s worse” situations in DeSoto.
- Reprogramming a remote or keypad. You can absolutely program a new LiftMaster remote by following the manual’s learning-button procedure. You can also accidentally erase all existing remotes, put the board into diagnostic mode, or change a parameter you didn’t intend to. If the manual’s steps and your gate’s behavior match exactly, go ahead. If the gate responds in a way the manual doesn’t describe, stop.
- Adjusting gate opening or closing speed via dip switches. Some BFT and Linear boards have dip switches that control speed, soft stop, or auto-close timing. These are documented in the manual and reversible. But flipping the wrong switch cluster can disable safety entrapment features without any visible sign of failure. Read the manual cover-to-cover before touching dip switches.
- Replacing a physical gate lock or latch. A mechanical latch replacement is usually straightforward. But if the latch interlocks with the operator’s release mechanism, or if the gate is a cantilever style with weight-distribution dependencies, a misaligned latch can stress the operator motor over time.
- Tightening visible hardware. Loose bolts and brackets are fine to tighten. But over-tightening a bolt on a welded aluminum gate can crack the frame, and “tightening” the chain on an automatic gate without knowing the proper tension spec creates premature wear on the operator gears.
Red Tier: Professional Only
This is where we draw a hard line, and we draw it from experience, not from a desire to sell you a service call. The red tier includes tasks that can injure you, damage the system in ways that cost more than the original repair, or put you in violation of safety standards that exist for good reason.
- Opening the operator housing. The moment you remove the cover from your gate operator, you’re exposing yourself to live line voltage (usually 120V AC, sometimes 240V), capacitors that hold charge even after power is disconnected, and the potential to short a board with a screwdriver slip. A single misplaced tool touch on a Viking or Ghost Controls control board can destroy it. Boards run $200 to $800 before labor.
- Adjusting limit switches. Limit switches control where the gate stops in both directions. Set them wrong and the gate can overtravel, slam into its end stop, strip gears, or bind the opener. More critically, improper limit settings can defeat the gate’s entrapment protection, which is a UL 325 compliance issue. If your gate stops in the wrong position, let a professional set the limits.
- Replacing or adjusting high-tension springs. Cantilever gates, some ornamental iron driveway gates, and certain other gate types use springs under significant tension. A spring releasing unexpectedly can cause serious injury or death. This is not a “be careful” situation. It’s a “this task has killed people” situation, and no repair manual should encourage you to attempt it.
- Any electrical wiring change, including adding a new keypad, intercom, or loop detector. We’ll discuss the legal specifics under Texas law below, but from a pure safety standpoint, working inside an energized system or tapping into the operator’s power feed without understanding the circuit is how fires, shocks, and board failures happen.
- Diagnosing intermittent faults. If your gate fails once a week, works otherwise, and shows no visible damage, that’s a diagnostic problem, not a repair problem. Intermittent faults are often caused by cold solder joints, failing capacitors, or marginal sensor alignment – things you cannot find without multimeter testing and experience. Chasing an intermittent fault yourself usually means replacing parts one at a time, each one expensive, until the problem coincidentally goes away.
Manufacturer Warranties and DIY Work: What Voids What
Every major gate operator manufacturer – including the brands we work on daily – writes warranty language that assumes professional installation and service. The moment a homeowner opens the operator housing and modifies something, the manufacturer has grounds to deny a warranty claim. This is not a theoretical concern. We’ve had DeSoto customers come to us after a board failed, only to discover the manufacturer wouldn’t honor the warranty because the failure occurred after a DIY repair attempt that the customer thought was harmless.
Here’s what actually voids or jeopardizes manufacturer warranties, based on the warranty terms common to brands like BFT, Linear, and Viking:
- Removing or tampering with the operator housing seal. Many commercial-grade operators have a tamper-evident seal or sticker. Breaking it to access the board is a warranty event the manufacturer records.
- Modifying wiring or adding third-party components. Splicing in a generic keypad, intercom, or solar panel without manufacturer approval can void the entire system warranty, not just the warranty on the part you added.
- Replacing parts with non-OEM components. That $20 generic limit switch that “fits perfectly” may work today and destroy the board tomorrow. When it does, the manufacturer is not responsible.
- Adjusting parameters beyond the user-level settings. User-level settings (remote pairing, auto-close timing on some models) are fair game. Installer-level settings (motor torque, limit calibration, entrapment sensitivity) are typically listed in the manual as “installer only” adjustments. Touching them is visible in the board’s event log on newer models, and it’s grounds for warranty denial.
- Failure to perform documented routine maintenance. Some warranty terms require periodic lubrication or inspection. If a seized bearing causes a motor failure and you can’t demonstrate that maintenance was done, the manufacturer may deny the claim. Keeping a simple dated log of your DIY maintenance can actually protect your warranty.
Before you do anything to your gate, check your operator’s manual for the warranty section. Look specifically for language about “unauthorized service” or “qualified technician.” If you can’t find your manual, the manufacturer’s website has the warranty terms in a downloadable PDF. The five minutes it takes to check is the cheapest insurance you’ll ever buy for a gate system.
For Gate Repair in DeSoto, knowing where the warranty line sits matters. We tell homeowners this constantly: if your gate operator is under warranty, let a professional handle anything more involved than battery replacement and sensor cleaning. The service call is cheaper than a voided warranty.
Texas Law and Homeowner Electrical Work on Gates
Texas is one of the most permissive states in the country when it comes to homeowner electrical work. Unlike some states that require a licensed electrician for nearly everything, Texas allows a homeowner to perform electrical work on their own property without a license – with important caveats. Understanding those caveats is where most DeSoto homeowners get into trouble.
First, the broad principle. Texas law generally allows a person to perform electrical work on property they own and occupy as their primary residence, provided the work meets code and is inspected where required. But “allowed to” and “should” are different things, and gate systems sit at an intersection of electrical code, building code, and a specific safety standard that changes the calculus: UL 325.
UL 325 is the safety standard for automatic gate operators, and it’s incorporated into Texas building codes by reference. It mandates specific entrapment protection features – photo sensors, contact edges, or both, depending on the gate type – and it requires that the gate system as a whole, not just the individual components, meets those standards. Here’s the practical consequence: if you wire a gate operator yourself, or modify the entrapment protection system, and then someone is injured or property is damaged, the liability picture changes. Your homeowners insurance may cover it, or it may deny the claim based on unpermitted or non-compliant electrical work. Insurance companies look for reasons to deny claims, and a gate system that was modified outside of professional service is exactly the kind of reason they look for.
Also relevant: DeSoto, like many Dallas County municipalities, has specific permitting requirements for certain types of work. A gate repair that involves replacing an operator or modifying the electrical feed may require a permit. A simple board replacement usually doesn’t. The line isn’t always clear, which is why “what Texas law says” is less useful than what the local inspection office says. If you’re not sure, call the city of DeSoto’s building inspection department. They’ll tell you, without charge, whether the work you’re considering requires a permit.
None of this means “never do electrical work on your own gate.” It means the stakes are higher than a non-functioning gate. A gate that opens and closes but doesn’t reverse when it hits an obstruction is a gate that can injure a child or a pet. If you did the wiring, that’s on you. For anything involving line voltage, power supply replacement, or entrapment protection wiring, the safe and compliant route is Electric Gate Repair in DeSoto handled by a professional who’s done it a hundred times.
The True Cost of DIY vs Professional Gate Repair
The DIY cost comparison that most homeowners do goes like this: “The part is $40 and the professional wants $350. I’m saving $310.” That math isn’t wrong. It’s just incomplete. The true cost comparison has to account for three things that don’t show up on a parts receipt: diagnostic error rate, warranty loss, and repeat repair probability. Let’s run the actual numbers.
Diagnostic error rate. When a professional diagnoses a gate problem, they’re working from pattern recognition built over hundreds of similar failures. When a homeowner diagnoses the same problem, they’re usually working from a YouTube video that – even when helpful – shows a system that’s close to, but not exactly, what’s in the homeowner’s driveway. The result is a substantial misdiagnosis rate for DIY repairs. In our experience in DeSoto, roughly half of the DIY repair attempts that we see involved replacing a part that wasn’t actually the source of the failure. The homeowner spent $150 on a part, the gate still didn’t work, and then they paid for the service call anyway. The DIY attempt didn’t save $200. It added $150 to the cost of the eventual professional repair.
Warranty loss. We covered this above, but the cost needs quantifying. A failed control board on a 14-month-old Linear operator is covered under the manufacturer’s two-year warranty if it failed under normal use. If the homeowner opened the housing at month 13 to “look around,” the manufacturer may deny the claim. The difference is a $600 board at full retail price versus a free replacement plus the labor to install it. That’s not a small number.
Repeat repair probability. Even when a DIY repair works initially, the repair has a higher probability of failing again than a professional repair of the same problem. The professional’s repair typically includes calibrating adjacent components, testing the system under load, and identifying the underlying cause of the failure rather than just replacing the broken part. A homeowner who replaces a stripped gear without addressing the misalignment that stripped it will replace the same gear again in eight months.
None of that means professional repair is always cheaper. For green-tier maintenance tasks, DIY is obviously the better economic choice. The point is that the comparison has to be honest. Saving $200 on a repair that fails – or voids a warranty, or creates a safety hazard – is not saving $200. It’s paying $200 for the privilege of paying more later.
DIY Maintenance That Extends the Life of a Professional Repair
Here’s a truth we tell every DeSoto homeowner: the gap between a professional repair and the next one is mostly determined by what you do between service calls. A gate isn’t like a water heater that runs untouched for a decade. Gate systems are exposed to weather, dust, and constant mechanical cycling, and they need the owner to participate in keeping them healthy. You don’t need to open the operator housing to do meaningful maintenance. Here’s the routine we recommend, based on what keeps repairs from recurring.
- Monthly visual inspection. Walk the full length of your gate and look for rust, loose hardware, sagging, debris in the track, or bent components. Ten minutes. If you see something change, you can call a professional before the failure happens rather than after.
- Quarterly photo-eye cleaning. DeSoto’s environment is hard on optical sensors. Dust, pollen, and automatic sprinkler overspray coat the lenses. Clean them with a soft, damp cloth every three months, and more often in spring when pollen peaks. A dirty photo eye is the single most common cause of “my gate won’t close” calls.
- Bi-annual lubrication. Chains, rollers, and hinges need periodic light lubrication. Use white lithium grease for chains, silicone spray for rollers and hinges. Don’t use WD-40 – it’s a solvent, not a lubricant, and it strips away the grease that’s already there. Don’t over-lubricate either; the excess becomes a dust magnet.
- Keep the track clear. This is particularly important for slide gates, which are common in DeSoto’s larger lots. Gravel, landscape mulch, and grass clippings all migrate into gate tracks. Clear them out when you see them. A rock in the track doesn’t just stop the gate – it can trip the current sensor and cause repeated stalling, which stresses the motor.
- Test the safety reversal. Every quarter, place an object (a trash can works) in the path of the closing gate. The gate should reverse without significant force. If it doesn’t, the entrapment protection is not working, and that’s a professional repair, not a DIY adjustment. This test takes 30 seconds and can prevent a serious injury.
- Log your maintenance. Write down what you did and when. A simple note in your phone is fine. If you ever need a warranty claim, that log is evidence that the failure wasn’t neglect.
The maintenance routine above doesn’t replace professional service. What it does is extend the interval between service calls and catch a lot of failures while they’re still cheap to fix. For anything beyond this list, Gate Installation in DeSoto and our broader Bastion Gate Repair home services exist precisely because there’s a line where homeowner maintenance ends and professional repair begins.
Common Mistakes to Avoid
- Opening the operator housing to “just take a look.” Curiosity is not a diagnostic tool, and opening the housing exposes you to live voltage and the board to contamination. If you’re opening the housing, you’re already past the point where a professional should be involved.
- Oiling a chain that’s skipping teeth. If your chain is jumping or slipping, the problem is tension or sprocket wear, not lubrication. Adding grease masks the symptom for a few days while the underlying problem gets worse.
- Bending a photo-eye bracket back “into alignment.” Photo-eye alignment is supposed to be set precisely. A bracket bent a little too far one way or the other can make the alignment worse, and a bent bracket is often a sign of impact damage that needs professional attention anyway.
- Repeatedly resetting the breaker when the gate trips it. If your gate trips the breaker more than once, stop resetting it and call a professional. Repeated resets can damage the board and the motor, and the underlying problem – usually a short or a failing capacitor – isn’t something that resets itself.
- Powering through a gate that’s working intermittently by “stopping and restarting” it. If the gate sometimes works and sometimes doesn’t, that’s a diagnostic clue, not an annoyance to reset past. Each failed cycle may be a loose connection or a failing component logging another event. The intermittent fault that gets ignored becomes the total failure that happens at the worst possible time.
- Replacing a failed part with the cheapest available equivalent. That generic remote or off-brand sensor may pair with your system, but it won’t perform like the OEM part, and it may cause the operator to work harder or fail sooner. The $30 saved on a non-OEM part routinely becomes a $200 repair down the line.
- Assuming “it’s just a gate” means it’s simple. A modern automatic gate system from a brand like BFT or Viking contains a control board with firmware, multiple safety sensors, a motor with torque limits, and mechanical components working under load. It’s not a fence hinge. Treating it like one is the root cause behind most of the DIY failures we see.
When to Call a Professional
Call a professional when the task is in the red tier, when you’ve attempted a yellow-tier fix and the gate still isn’t working right, or when you’ve hit the limit of what you’re comfortable diagnosing. Our Gate Repair Emergency Preparedness Guide for DeSoto Homes can help you plan ahead. The same applies for any situation where the gate is part of a multi-unit community, commercial property, or any setting where the public or residents depend on it. The bar for “working gate” is higher when other people are on the other side of it. Bastion Gate Repair offers free estimates in DeSoto – call (866) 321-6117.
Frequently Asked Questions
Most gate repairs in DeSoto fall between $150 and $600 depending on the component and the system type, with simple fixes like sensor realignment on the lower end and control board replacement on the higher end. See our Gate Repair Cost Breakdown: The DeSoto Homeowner’s Reference for 2026 for detailed pricing. The exact cost depends on the gate brand and what failed, which is why we quote every job before any work begins. Call (866) 321-6117 for a free estimate on your specific gate.
Yes – replacing the battery and reprogramming the remote using your operator’s manual is a green-tier DIY task in most cases. If the remote is damaged, waterlogged, or won’t pair after following the manual’s exact steps, the issue may be the receiver board rather than the remote itself, and that’s a professional diagnostic job.
A gate that reverses before closing is almost always responding to a photo-eye sensor that’s dirty, misaligned, or obstructed, and cleaning the sensor lenses is a safe DIY first step. If cleaning doesn’t resolve it, the sensor may have failed, the wiring may be compromised, or the board’s sensor input may be faulty – all of which are professional repairs.
Most reputable gate repair companies in DeSoto work on the major brands, including LiftMaster, FAAC, BFT, Linear, Viking, Ghost Controls, DoorKing, Elite, and Mighty Mule, but not all of them service commercial-grade systems from those same brands. When you’re calling around, ask specifically whether the company handles the brand and model of your operator, not just “gates” in general.
Flipping the breaker removes line voltage but not capacitor charge, which can still deliver a dangerous shock, and de-energizing the system doesn’t protect you from making a wiring error that creates a fire or safety hazard when power is restored. For anything involving the operator’s electrical system, hire a professional – the breaker flip is a false sense of security.
Most residential gate repairs are completed in a single visit, often in under two hours, though parts availability can extend the timeline for specific components on brands like Viking or Ghost Controls that may not be stocked locally. We’ll tell you the expected timeline before starting the work, and the price is always quoted and agreed before any repair begins.
The Bottom Line
You can and should handle the routine maintenance that keeps your gate working between professional repairs: cleaning sensors, clearing tracks, swapping remote batteries, and doing monthly visual checks. Those tasks are genuinely yours to own, and doing them regularly will keep a good gate system healthy for years. But the line is sharper than most homeowners realize. The moment you’re removing a housing cover, adjusting a limit switch, touching a spring under tension, or modifying wiring, you’ve crossed from maintenance into repair territory – and repair territory on an automatic gate carries risks that aren’t visible until something goes wrong. In DeSoto, where gates run from basic residential swing arms to full commercial access control systems, the smart homeowner doesn’t ask “can I fix this?” but “what happens if I fix this wrong?” When the answer is a voided warranty, a UL 325 violation, or a $600 board that was fine before you opened the housing, calling a professional isn’t the expensive option. It’s the cheap one.
Written by the team at Bastion Gate Repair, serving DeSoto since 2012.
See the difference
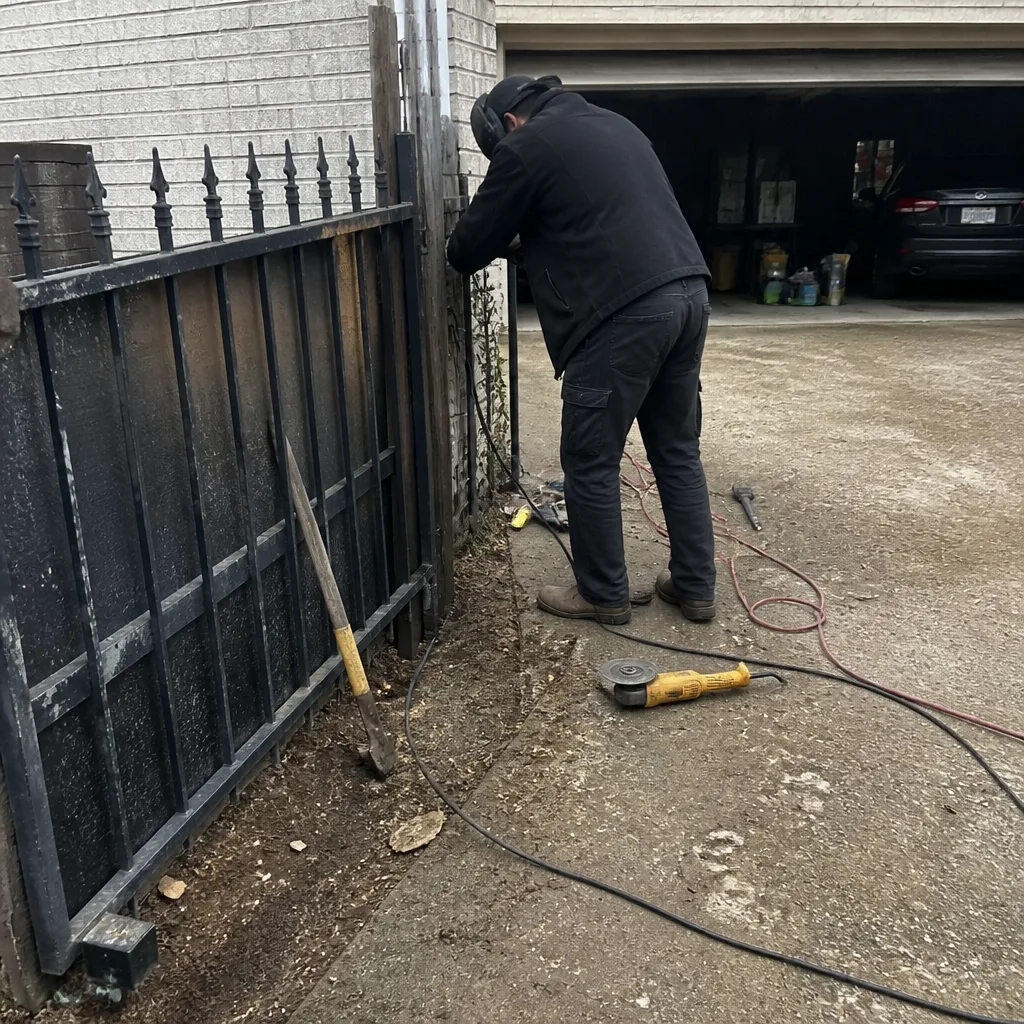 Before
 After
 Before
 After
 Before
 After